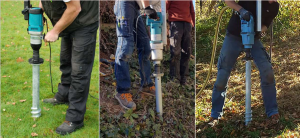
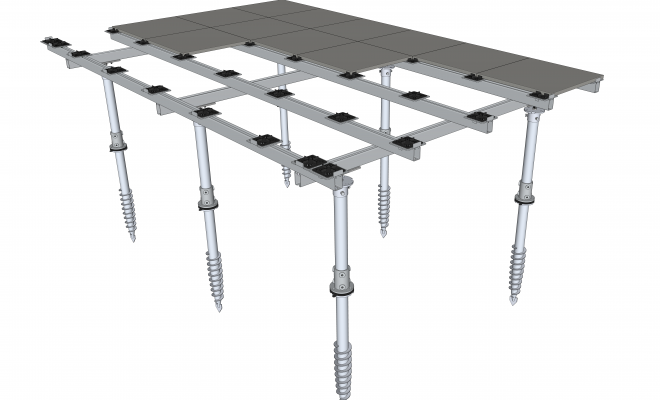
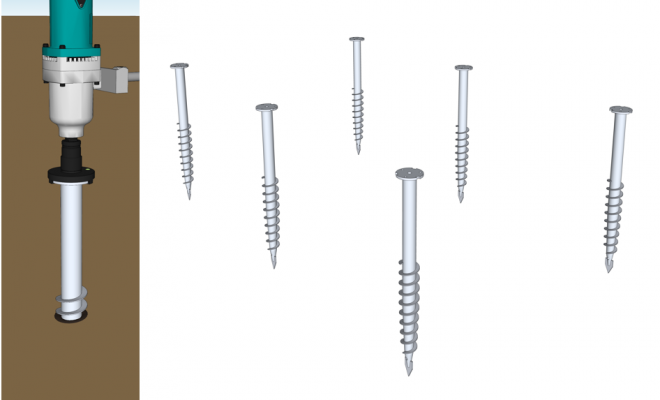
Installation
A SIMPLE and INSTINCTIVE design, the installation has been thought up by professionals for professionals to guarantee PRECISE work and make the installation process MUCH EASIER while ensuring complete AUTONOMY.
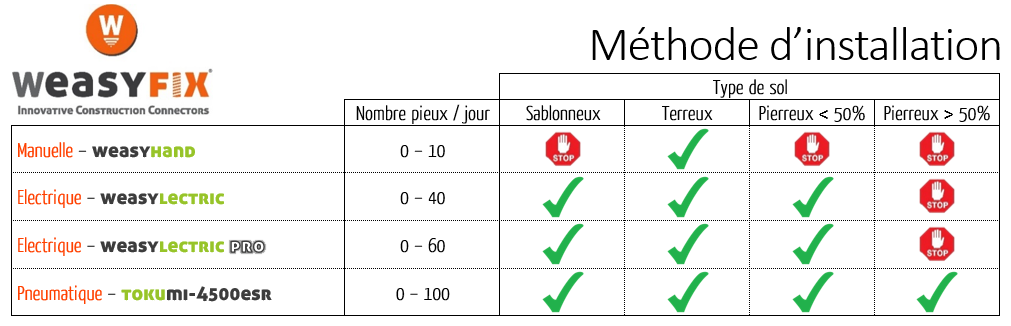
Choosing the right portable electric machine
All the EQUIPMENT you need, developed specifically for INSTALLING foundation screws in complete AUTONOMY
Takes up little space
- Avoid the use of a trailer or truck to offload tonnes of earth
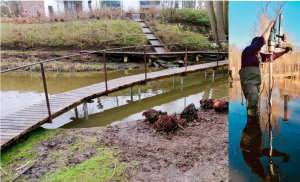
- Work in difficult conditions (terraced houses, very steep terrain, marshy or boggy land, etc.)
- You can simply use the electricity supply of any house, or otherwise a small electric generator.
Highly efficient
- Accelerate your work with the HIGH SPEED offered by our impact drivers.
- Work on ALL TYPES OF TERRAIN and in ALL CONDITIONS, in bedrock beneath the snow in the winter or in sand under the summer sun.
- Optimise the division of labour by working at the same time (one person makes the holes, one positions the screws and one installs them, etc.).
A SELF-DIRECTED TEAM can install up to 140 foundation screws per day.
Reduced costs
- An initial investment that is 2 to 20 times lower than that for traditional systems.
- The machines are available for hire from Weasyfix partners and only require one operator.
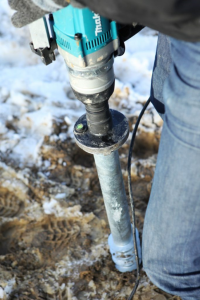
Our portable electric machines
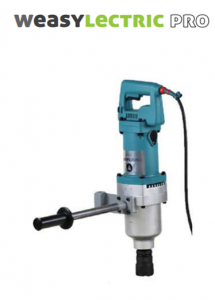
Recommended for small and average-sized sites, the Weasylectric Pro is ideal for working on rough terrain or land that is difficult to access.
All that is needed is an electrical power supply.
Characteristics:
Torque: 2000 Nm
Electric
Limited to soils with stones < 50%
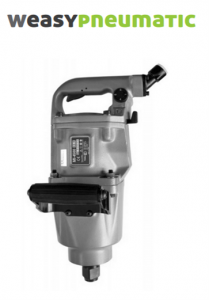
Recommended for large sites, the WeasyPneumatic or TOKU can work continuously for long durations without wearing out, and can even do so on particularly hard and dry soils.
However, to operate, these tools require a compressor along with a lubrication system and a dehumidifier.
Characteristics:
Torque: 2900Nm
Pneumatic
All types of soil
Our accessories
In addition to machines adapted to the working conditions, Weasyfix also develops accessories designed to facilitate installation for even greater efficiency.
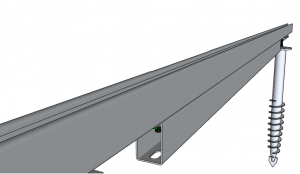
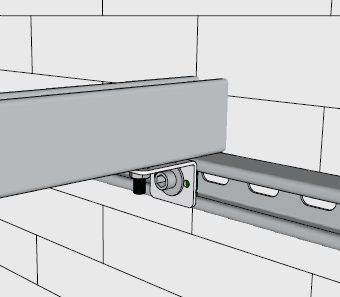
Laserfix for levelling
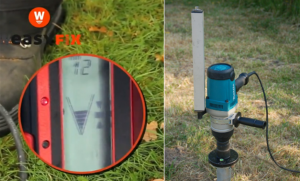
Adjustable support for a laser receiver, enabling you to work with a laser receiver so that you can directly install all the screws in a level position with great accuracy and without losing time.
- Compatibility: Accessory designed specifically for each machine
- Efficiency: Enables attachment of a laser so that you can directly install all the screws in a level position
- Accuracy: Levelling with centimetre precision thanks to the use of a laser
Efficient method
One process in 4 steps for ensuring an optimised position
1. Plotting the position
This step is often underestimated, however the aim of plotting is to mark out the exact position of the ground screws.
It is essential that the foundation screws are positioned accurately to guarantee their correct alignment under the beams and to ensure that the beams are parallel.
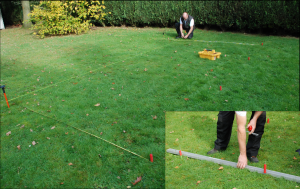
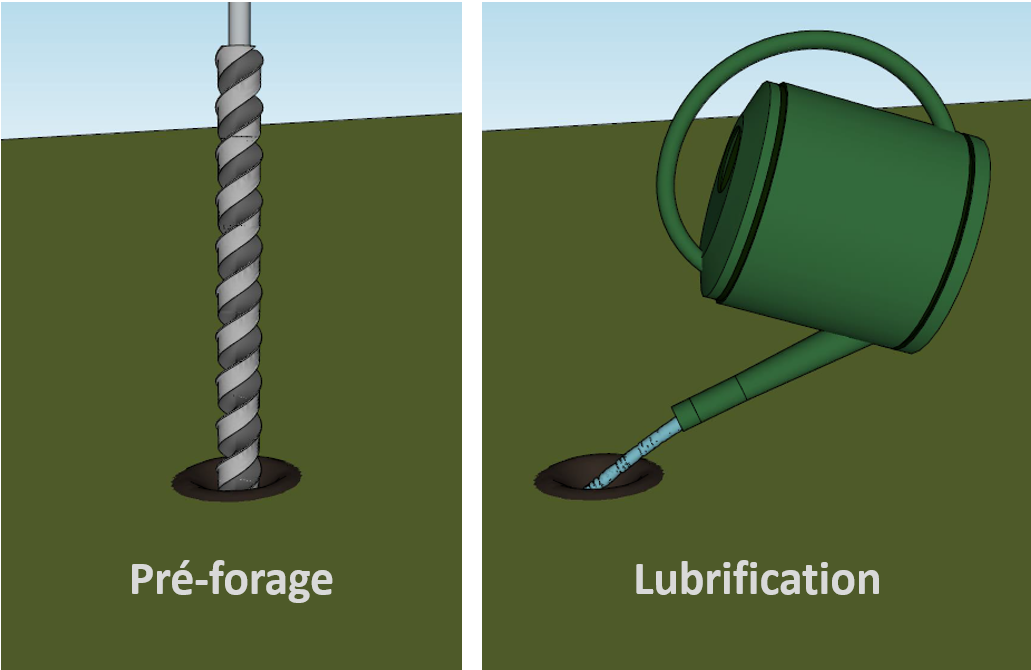
2. Making the hole in the ground
Making a hole in the ground is ESSENTIAL for two reasons: to test the soil conditions and to prepare the ground ready for driving in the foundation screws.
A good hole reduces wear and tear on the machine and can improve the speed and quality with which your foundation screws are installed by a factor of 4!
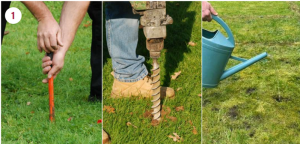

You can make the hole MANUALLY (with a crowbar) or MECHANICALLY (with a drilling machine).
We strongly recommend LUBRICATING your holes when working on dry and/or hard soils.
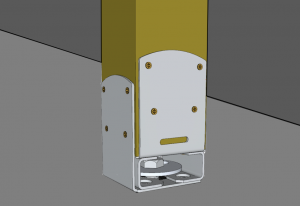
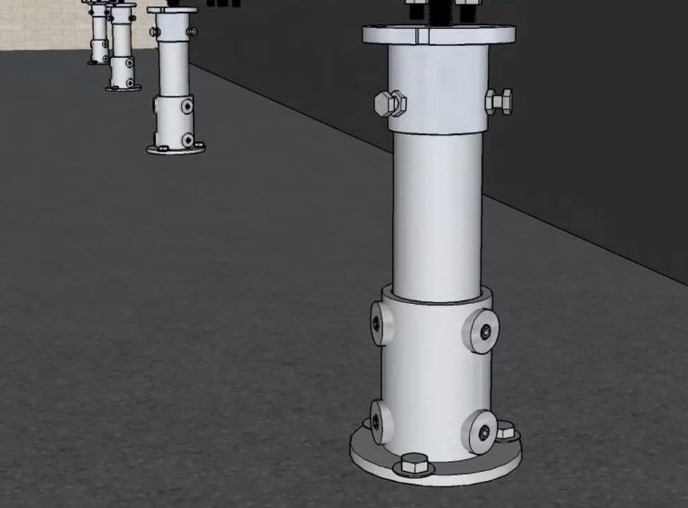
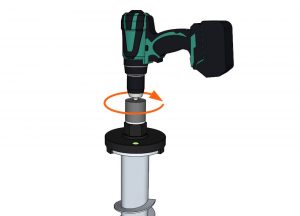
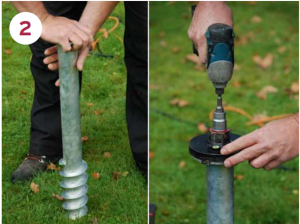
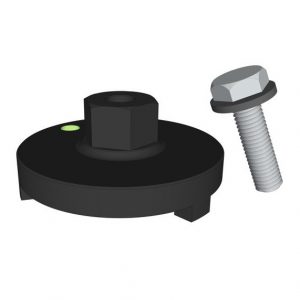
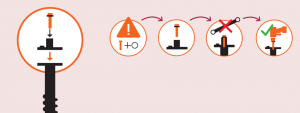
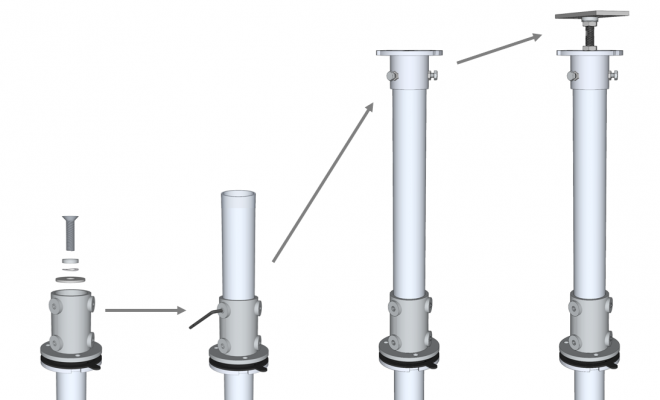
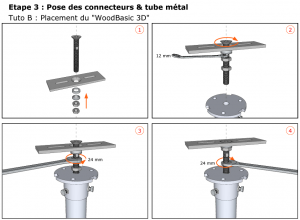
3. Attaching the WeasyHead
The WeasyHead is used to connect our machines to the foundation screw.
The WeasyHead MUST be attached with the aid of a small impact driver to prevent any problems that could bring the work to a halt.
4. Driving the pile into the ground
Successfully driving the screw into the ground strongly depends on the quality of the previous 3 steps.
(Plotting the position, making the holes and attaching the WeasyHead)
The time it takes to drive the screw into the ground can vary depending on the soil type.
The harder and dryer the soil, the longer it will take to drive foundation screws into the ground.
On average, in “normal” soil (type 4 – earthy soil), it takes approx. 2 minutes to drive a screw into the ground.
(As long as the three previous steps have been strictly observed.)
“Step-by-step” installation
Weasyfix solutions come with a wide variety of support material/tutorials explaining each installation step in detail according to the practical cases encountered.
Assistance is always adapted to the conditions encountered out in the field.
Detailed installation
Discover the “Detailed installation tutorials” available for each of our solutions.
They accurately illustrate the installations so that you can clearly see and understand each step.
Options
IN ADDITION to the detailed installation tutorials, the “OPTION” tutorials guide you in making adjustments to your project according to your desires so that you can give free reign to your creativity.