A single post is always subjected to lateral forces in all directions, either depending on the direction of the wind or depending on the object that it is supporting.
The taller the post, the greater the effect of these forces on the foundations.
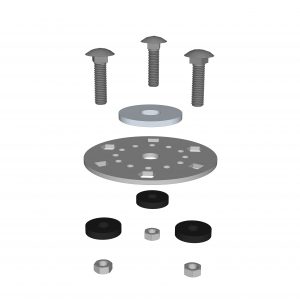
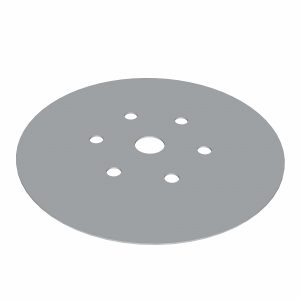
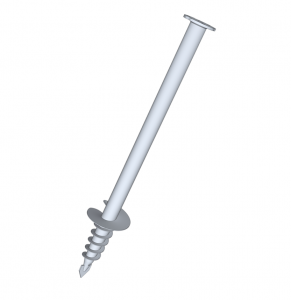
The solution includes a connector mounted on EPDM gaskets used to absorb lateral shocks on the post.

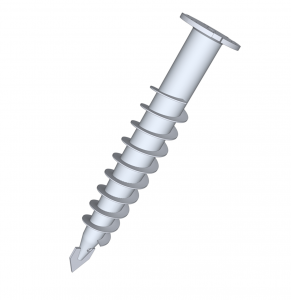
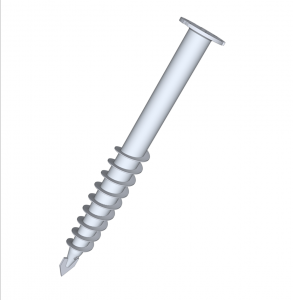
The post is attached to the foundation screw with the aid of wood screws, the number, length and diameter of which are selected in order to best regulate the lateral resistance.
The low resistance protects the foundations in the event of excessive lateral loads.
This makes the system easy to repair.
Ideal for erecting parking posts for example.

  • Advantage 1: Accepts all wooden post cross-sections, round or square, and facilitates adjustment of a broken post.

  • Advantage 2: Possibility to correct the post’s vertical position by simple compression of EPDM gaskets.

1/5
Fastening to wooden section Moderate lateral force

This solution is carried out in 3 steps:


1. Making holes in the ground

2. Installing foundation screws

3. Installing the post

Step 1: Making holes in the ground

It is essential to first make a hole in the ground as this ensures that the screw will penetrate well into the soil.
Lubrication helps to position the foundation screw.

Step 2: Installing foundation screws

Our portable electric machines, in combination with a laser transmitter and receiver, are used to install the screws in a level position and do not require any specific actions.

Step 3: Installing the post

The Fix 3D M10 Connect U is placed on the foundation screw.
The Support washer is adjusted so that it is perfectly horizontal.
The Connect U is then placed on the washer, and the entire assembly is bolted to the foundation screw.
The Connect U support plate is clipped into the notches provided, and the post is attached to the Connect U with wood screws, or a bolt can even be screwed through the whole thing.

Final result

Repeat this step if you need to install several posts.

Comprehensive tutorials

Detailed installation

Follow the tutorial below which gives step-by-step instructions on how to install this solution:

Comprehensive tutorial

Complementary modules

Options

Creation

Projects created with this product

Do you have a project? Get a free estimate via our online form