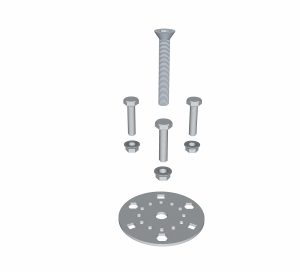
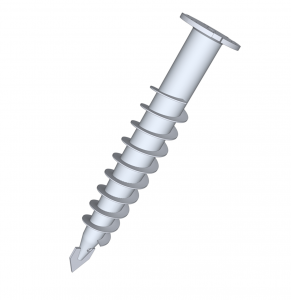
A single post is always subjected to lateral forces in all directions, either depending on the direction of the wind or depending on the object that it is supporting.
The taller the post, the greater the effect of these forces on the foundations.

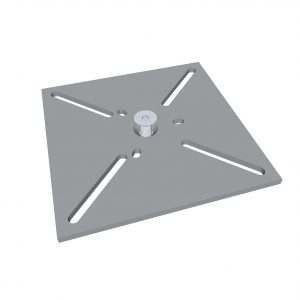
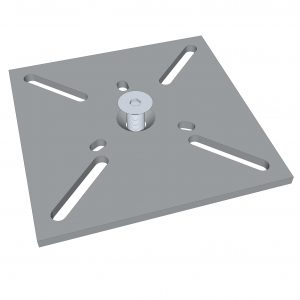
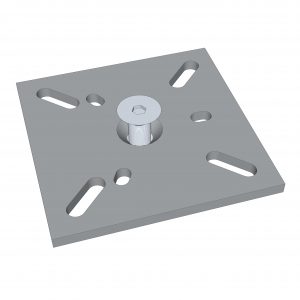
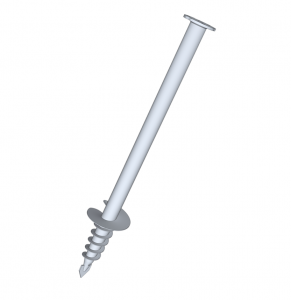
If these forces are weak, or the wind load on the post is low, only one screw per post is needed.
However, be careful to take the soil conditions and the height of the post into account when choosing which of the two solutions to use.
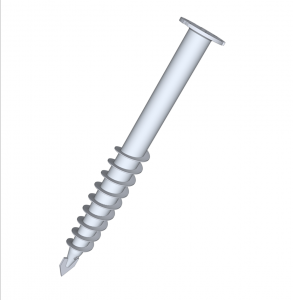
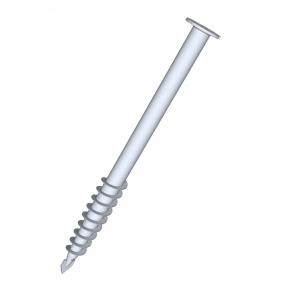
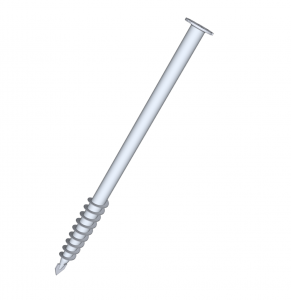
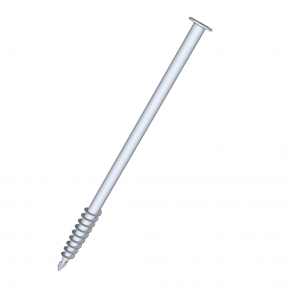
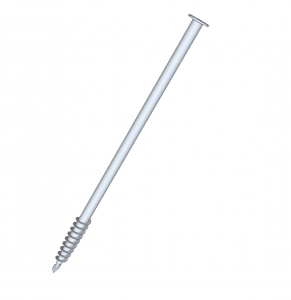
A foundation screw of at least 100 cm is required for this type of application.

  • Advantage 1: Easy to install, inexpensive and good stability in hard soils.

  • Advantage 2: Possible to correct the post’s vertical position with a FIX 3d Connect X (B16)

1/6
Fastening the customer’s connector. Moderate lateral force

This solution is carried out in 5 steps:


1. Making holes in the ground

2. Installing foundation screws

3. Installing the vertical position corrector

4. Positioning the connector

5. Fastening of posts

Step 1: Making holes in the ground

It is essential to first make a hole in the ground as this ensures that the screw will penetrate well into the soil.
Lubrication helps to position the foundation screw.

Step 2: Installing foundation screws

Our portable electric machines, in combination with a laser transmitter and receiver, are used to install the screws in a level position and do not require any specific actions.

Step 3: Installing the vertical position corrector

The FIX Connect X (B16) is installed on the head of the foundation screw by placing three M10 screws in the holes provided for the purpose on the head of the foundation screw.

Step 4: Positioning the connector

The connect X- (C14-C15-C16) is placed on the washer of the FIX 3D Connect X and screwed, with the aid of the M16/80 countersunk head screw, onto the foundation screw.

Step 5: Fastening of posts

The post’s vertical position is adjusted by simply screwing/unscrewing the M10 bolts.

Comprehensive tutorials

Detailed installation

Follow the tutorial below which gives step-by-step instructions on how to install this solution:

Comprehensive tutorial

Complementary modules

Options

Creation

Projects created with this product

Do you have a project? Get a free estimate via our online form