Home>Solutions>Solution 42 – Structures with a floor – Customer connector – Moderate loads
solution 42
This solution consists of two layers of wooden battens attached to posts fitted with “special” feet that correct any differences in level beneath the structure. You can combine class 4 pine joists with battens made of exotic wood, for example. The range of WEASYFIX connectors for wooden posts ensures precise and sturdy positioning.
Advantage 1: A single length of foundation screw is used as the wooden posts compensate for any differences in level. This makes stock management easier both in the workshop and at the site.
Advantage 2: The finish is more aesthetically pleasing than with metal tubes if you do not intend to mount cladding around the construction.
1/8
Wood structure solution
This solution is achieved in 7 steps:
1. Making holes in the ground
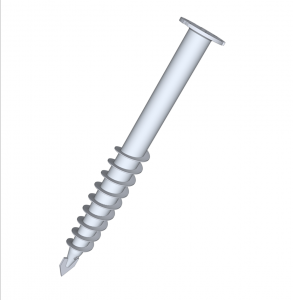
2. Installing foundation screws
3. Installing connectors & wooden posts
4. Installing the bottom structure
5. Installing the top structure
6. Installing the floor
7. Mounting the final construction
Step 1: Making holes in the ground
It is essential to first make a hole in the ground as this ensures that the screw will penetrate well into the soil. Lubrication helps to position the foundation screw.
Step 2: Installing foundation screws
Our portable electric machines, in combination with a laser transmitter and receiver, are used to install the screws in a level position and do not require any specific actions.
Step 3: Installing connectors & wooden posts
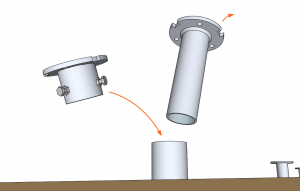
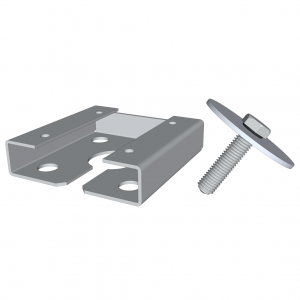
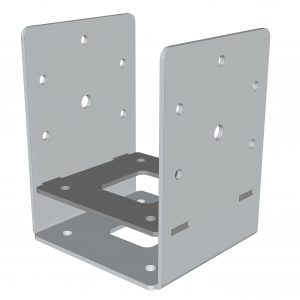
“Plate 240” (C40) connectors are attached to the foundation pile, aligned, adjusted vertically and orientated thanks to FIX 3D Connect plates 240 (B20) or Vertikits (D4 as an economical option). The feet of the posts are then attached to the Connect plates 240 (C40).
Step 4: Installing the bottom structure
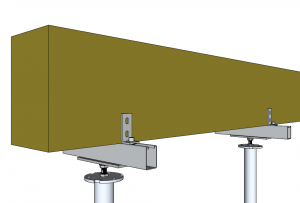
The bottom wooden structure is fastened to the vertical posts which correct any differences in ground level and raise the structure to the required level.
Step 5: Installing the top structure
The wooden top structure is installed cross-wise to make the structure sufficiently rigid. It is attached at the sides with brackets L60/40.
Step 6: Installing the floor
The final step of this solution consists of installing the floor with the aid of wood screws. The foundation screws bear the load of the entire construction, therefore their dimensions must be calculated taking into account the loads provided by the French DTU standard.
Step 7: Assembling the construction
The foundation screws are positioned in such a way as to allow ventilation under the structure, and the raising components ensure the perfect level.
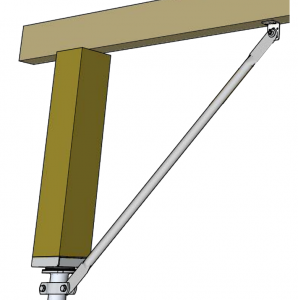
As the foundation screws bear the load of the entire structure, their dimensions must be calculated taking into account the permanent loads, service loads and weather loading. The raising components should be reinforced with bracing if necessary to ensure the lateral stability of the entire assembly.
Comprehensive tutorials
Detailed installation
Follow the tutorial below which gives step-by-step instructions on how to install this solution:
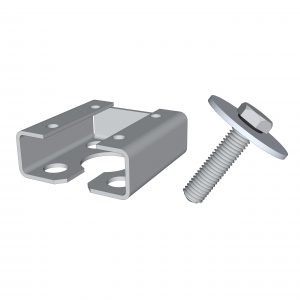
If you are using primary joists with a cross-section exceeding 140 mm in width, the WoodBasic (C2) and WoodBasic 3D (C3) prevent any further adjustment or alignment. This problem can be solved with the option shown opposite.
It is possible to install the screws manually in the case of small projects involving a small number of screws.
However, in the event of hard soil or larger projects, we highly recommend using electric tools.
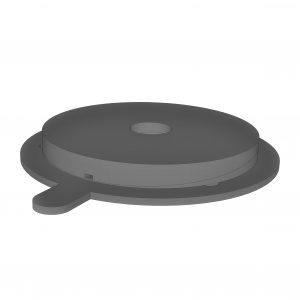
If the screw gets stuck because it is too tall in relation to the ground, the Top 60 (C13) will help you to recreate the head of the foundation screw after sawing the tube to the correct height.
Do you have a project? Get a free estimate via our online form
We use cookies on our website to provide you with the most relevant experience by remembering your preferences and repeat visits. By clicking "Accept" you are consenting to the use of ALL cookies. However, you can visit the cookie settings to provide controlled consent. Read moreSettingsAccepting everything
Manage consent
Cookie policy
This website uses cookies to enhance your experience when browsing the website. Of these, cookies classified as necessary are stored on your browser because they are essential for the basic functionality of the website to work. We also use third party cookies that help us analyse and understand how you use this website. These cookies will only be stored on your browser with your consent. You also have the option to disable these cookies. But disabling some of these cookies may affect your browsing experience.
Les cookies nécessaires sont absolument essentiels au bon fonctionnement du site Web. Ces cookies assurent les fonctionnalités de base et les fonctions de sécurité du site Web, de manière anonyme.
basic functionalities and security features of the website, anonymously.
Les cookies fonctionnels aident à exécuter certaines fonctionnalités telles que le partage du contenu du site Web sur les plateformes de médias sociaux, la collecte de commentaires et d’autres fonctionnalités tierces.
Les cookies de performance sont utilisés pour comprendre et analyser les indices de performance clés du site Web, ce qui contribue à offrir une meilleure expérience utilisateur aux visiteurs.
Les cookies analytiques sont utilisés pour comprendre comment les visiteurs interagissent avec le site Web. Ces cookies aident à fournir des informations sur le nombre de visiteurs, le taux de rebond, la source de trafic, etc.
Advertisement cookies are used to provide visitors with relevant ads and marketing campaigns. These cookies track visitors across websites and collect information to provide customized ads.