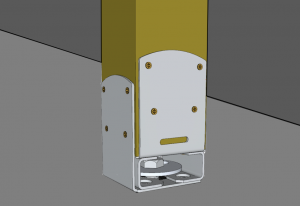
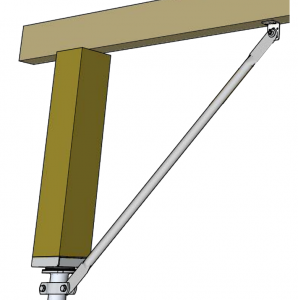
This solution is made up of two layers of wooden battens attached to wooden posts that correct any differences in level beneath the terrace.
You can combine class 4 pine joists with battens made of exotic wood, for example.
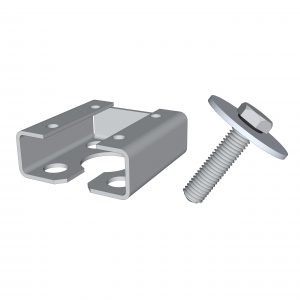
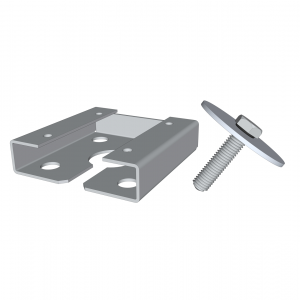
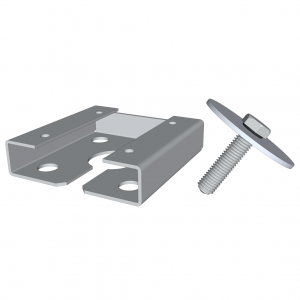
The range of WEASYFIX connectors for wooden posts ensures precise and sturdy positioning.

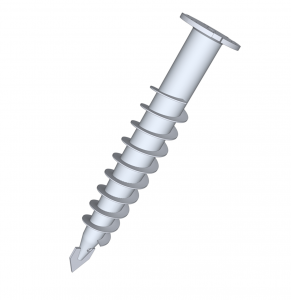
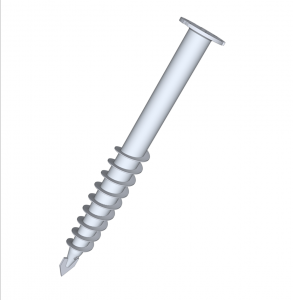
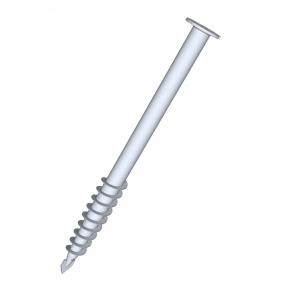
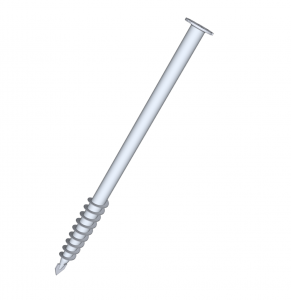
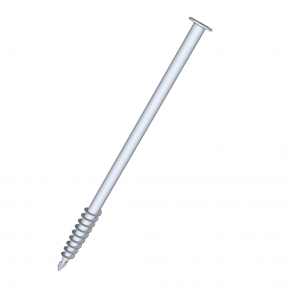
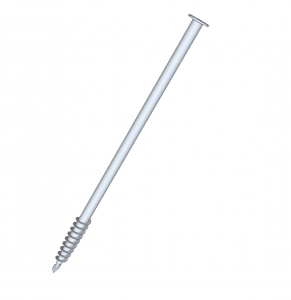
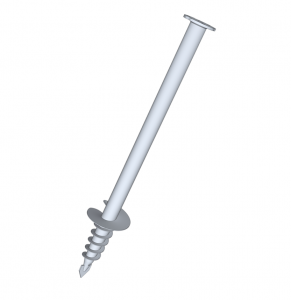
  • Advantage 1: A single length of foundation screw is used as the wooden posts compensate for any differences in level.
    This makes stock management easier both in the workshop and at the site.

  • Advantage 2: The finish is more aesthetically pleasing than with metal tubes if you do not mount cladding around the terrace.

1/7
Wood flooring structure solution

This solution is carried out in 6 steps:


1. Making holes in the ground

2. Installing foundation screws

3. Installation of connectors & posts

4. Installing the bottom structure

5. Installing the top structure

6. Installing the floor

Step 1: Making holes in the ground

It is essential to first make a hole in the ground as this ensures that the screw will penetrate well into the soil.
Lubrication helps to position the foundation screw.

Step 2: Installing foundation screws

Our portable electric machines, in combination with a laser transmitter and receiver, are used to install the screws in a level position and do not require any specific actions.

Step 3: Installation of connectors & posts

The connectors for Wood 90 or 140 posts (depending on the cross-section of the posts) are attached to the post and then attached to the head of the foundation screw on which a Vertikit has already been installed to adjust the vertical position.

Step 4: Installing the bottom structure

The bottom wooden structure is fastened to the vertical posts which correct any differences in ground level and raise the structure to the required level.

Step 5: Installing the top structure

The wooden top structure is installed cross-wise to make the structure sufficiently rigid.
It is attached at the sides with brackets L60/40.

Step 6: Installing the floor

The final step of this solution consists of installing the floor with the aid of wood screws.
The foundations bear the load of the entire construction, therefore their dimensions must be calculated taking into account the loads provided by DTU 51.4.

Comprehensive tutorials

Detailed installation

Follow the tutorial below which gives step-by-step instructions on how to install this solution:

Comprehensive tutorial

Complementary modules

Options

Creation

Projects created with this product

Do you have a project? Get a free estimate via our online form