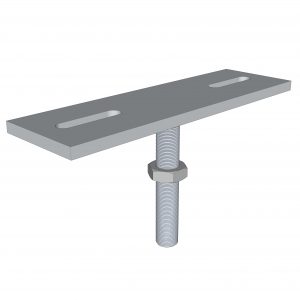
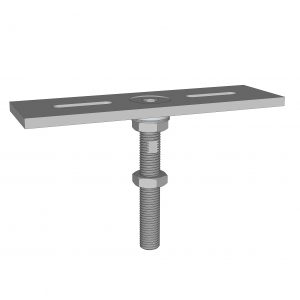
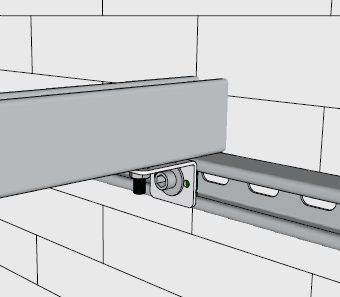
Solution in which all the load-bearing components are made of galvanized steel.
It is used to securely attach tiles/slabs with the aid of products specifically designed for the purpose.
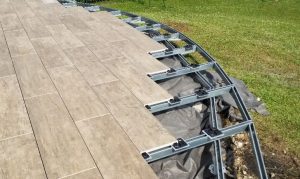
It is suitable for all types of tile/slab (natural stone, stoneware, concrete, etc.) and for all types of installation (in a line or offset).
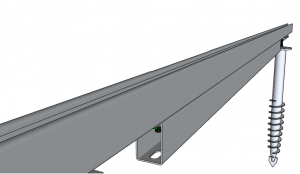
The installation is very fast and the adjustments are easy as all the components are screwed together which increases durability and enables the structure to be disassembled again without altering the product.

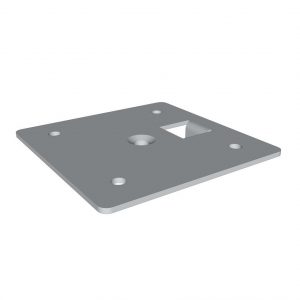
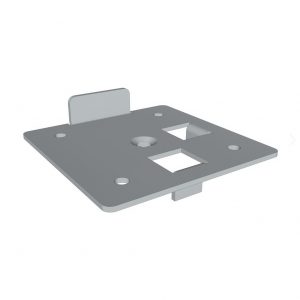
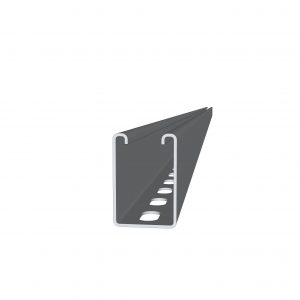
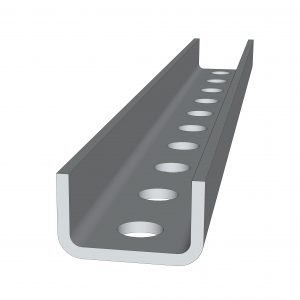
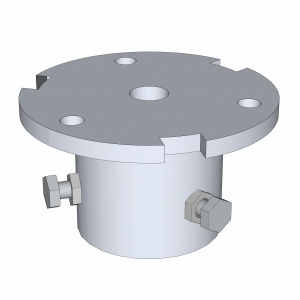
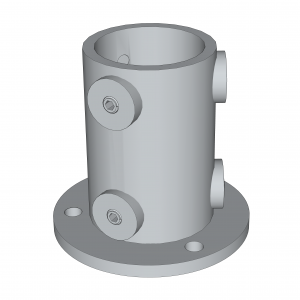
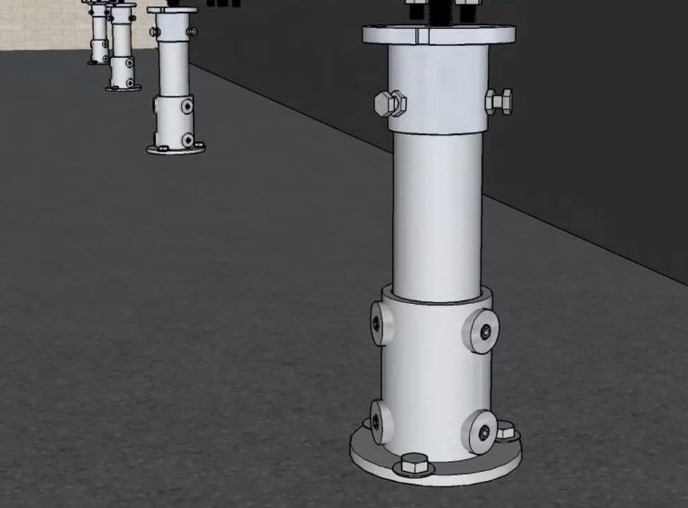
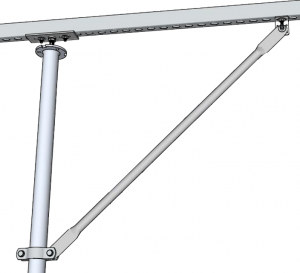
  • Advantage 1: Load-bearing structure made of galvanized steel supported by galvanized steel tubes, ensuring a long service-life and exceptional resistance to deteriorating factors (fungi, animals).

  • Advantage 2: The galvanized steel tubes ensure that the posts are perfectly straight.

1/8
Metal structure with self-supporting slabs

This solution is carried out in 7 steps:


1. Making holes in the ground

2. Installing foundation screws

3. Installing metal tubes & connectors

4. Installing the bottom structure

5. Installing the top structure

6. Installing slab supports

7. Installing slabs

Step 1: Making holes in the ground

It is essential to first make a hole in the ground as this ensures that the screw will penetrate well into the soil.
Lubrication helps to position the foundation screw.

Step 2: Installing foundation screws

Our portable electric machines, in combination with a laser transmitter and receiver, are used to install the screws in a level position and do not require any specific actions.

Step 3: Installing metal tubes & connectors

The terrace is raised with the aid of the Vertikit/Fix 3D 60/Connect60/Tube 60/Top 60 and Wood basic 3D components which ensure that the posts are installed vertically.
The required height is achieved by sawing the tube to the correct height.

Step 4: Installing the bottom structure

The galvanized steel structure is installed and bolted to the connectors with the aid of fasteners.

Step 5: Installing the top structure

The galvanized steel top structure is installed cross-wise and bolted to make the structure sufficiently rigid.

Step 6: Installing slab supports

The position and spacing of the supports for the slabs depends on the dimensions and characteristics of the slabs (generally in the four corners).

Step 7: Installing slabs

The slabs are then mounted on the supports, only the slabs at the edges are prevented from moving with a lock pin.


The foundation screws bear the load of the entire construction, therefore their dimensions must be calculated taking into account the loads provided by DTU 51.4.
The raising components should be reinforced with bracing elements if necessary to ensure the lateral stability of the entire assembly.

Comprehensive tutorials

Detailed installation

Follow the tutorial below which gives step-by-step instructions on how to install this solution:

Comprehensive tutorial

Complementary modules

Options

Our products

Products associated with this solution

Creation

Projects created with this product

Do you have a project? Get a free estimate via our online form